Status Effects: Freeze, Scorch & Ferment
The three status effects are the heart of the endgame damage meta. Here is how each works, how to trigger them reliably, and the build that carries deep Bottomless Buffet runs.
By the SplatAtlas editorial team · Last updated: 2026-07-29
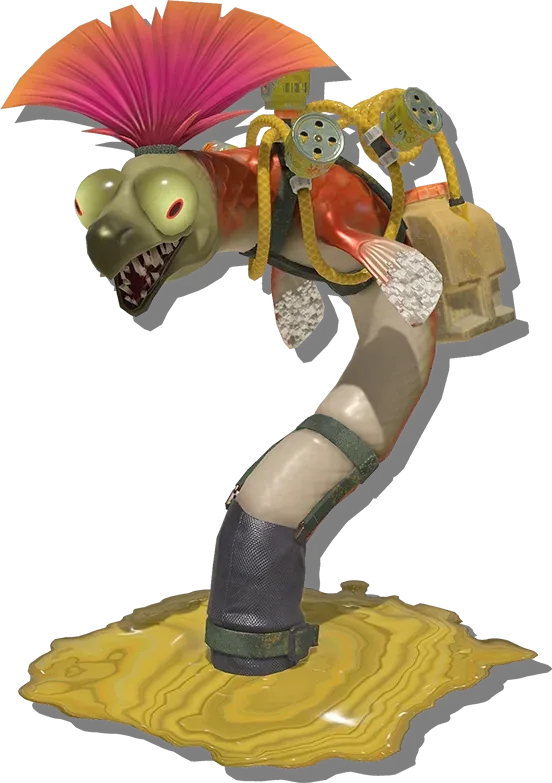
The three status effects
Every status does something different: Freeze controls, Scorch burns over time, and Ferment amplifies. The real damage comes from their trigger interactions: hitting a statused enemy the right way multiplies your output.
| Status | What it does | Damage trigger |
|---|---|---|
| Freeze冷凍 | Immobilizes the Salmonid for a time. No damage on its own: the value is the setup. | Ice Breaker: attacking a frozen enemy deals 3x damage, and consumes the freeze, so you get exactly one multiplied hit per freeze. (Some build guides report up to 5x at higher power grades; the in-game text says 3x.) |
| Scorch炙り | Damage over time that stacks up to 3 levels; damage rises with each level. | Ignite: attacking a scorched enemy sets off a flame burst that also hits nearby enemies. |
| Ferment発酵 | The enemy takes increased damage from all sources while fermented. | Explosive Ferment: defeating a fermented enemy causes an explosion around it. |
At most two different statuses can be active on one enemy at the same time, so pick two effects to build around rather than spreading across all three.
Four ways to inflict a status
Statuses come from four sources, and their reliability differs a lot:
Weapon Powers
Chance-based procs rolled on hit. Baseline freeze chance is only around 2%, but slower-firing, harder-hitting weapon classes roll noticeably higher rates per shot.
Gadget Parts
Certain gadgets inflict a status on hit when fitted with the matching part; this is the reliable route, and specific setups reach guaranteed infliction.
Environmental gimmicks
Stage objects like ice flowers and purple plants apply statuses to enemies near them for free, so reposition fights around them.
Partner Showstoppers
At maximum Bond, each Deep Cut partner’s upgraded Showstopper adds a status to everything it touches, one status per partner.
Trigger combos: where the damage actually is
A status on its own is fine; a status plus its trigger is the meta. The strongest pattern is freeze-then-burst: lock an enemy with Freeze, then hit it with a high single-shot weapon carrying the Ice Breaker Weapon Power. The key detail most players miss is that the hit consumes the freeze: you get one multiplied hit, not a window of them. That single fact decides your whole build: one-shot-heavy classes (Splatanas, Brellas, Stringers, Blasters, Chargers) convert a freeze fully, while rapid-fire shooters spend it on a pellet worth a fraction of the damage. Scorch instead spreads damage to packs via Ignite, and Ferment turns boss phases into burst windows since every source hitting the target benefits.
The freeze build (deep-floor standard)
The build JP players use for deep Bottomless Buffet floors; runs past floor 400 have been reported with variants of it:
- Weapon: a hard-hitting single-shot class (Splatana, Brella, Stringer, Blaster, or Charger) with the Ice Breaker Weapon Power.
- Gadgets:this is your actual freeze source, not the 2% Weapon Power: カチコミシューズ, ジャンプボム and メテオグローブ apply freeze at 100%, ゴレンライナー up to 60%.
- Companion Weapon Powers: インファイト (+10% up close) and ロングレンジ (+15% at range) are the picks JP guides pair with Ice Breaker, plus インクの達人 for uptime. Skip 集中攻撃 here: it rewards 3+ consecutive hits on one target, which a one-hit freeze burst never accumulates.
- Loop: gadget to freeze, burst with Ice Breaker hits, repeat, bosses included.
Part and Relic Power names above follow JP sources where official English names are still unverified; we keep the JP names until we can confirm the localized ones in-game.
Partner Showstoppers and statuses
Each partner’s max-Bond Showstopper carries a fixed status, so choose your partner to match your build:
| Partner | Max-Bond Showstopper | Status applied |
|---|---|---|
| Shiver (フウカ) | 鉄槌!先生ストライク | Freeze |
| Frye (ウツホ) | 衝天!村雨ウツボ | Ferment |
| Big Man (マンタロー) | 張拳!マンタ輪舞 | Scorch |
Environmental gimmicks that apply statuses
| Gimmick | Effect |
|---|---|
| Ice flowers (氷の花) | Freeze nearby Salmonids when triggered. |
| Purple plants (紫の植物) | Coat enemies in fermenting liquid: affected enemies take about 1.2x damage. |
| Ink balloons (風船) | Chain-exploding balloons: not a status, but they combo with Ignite and Explosive Ferment bursts. |
Quick tips
- Commit to two statuses per loadout; the two-status cap makes a third source wasted.
- Freeze is the best solo pick: control and a damage multiplier in one.
- On crowded floors, Scorch + Ignite clears packs that single-target freeze bursts leave standing.
- Ferment shines in co-op: one player applies it, everyone’s damage benefits.
Related guides
- Scorch Builds: Splatoon Raiders' Other Deep-Floor Meta
- All 15 Weapon Powers in Splatoon Raiders
- Ring-Outs and Drowning: The Salmonids You Can Remove Without Killing
- Best Builds & Recommended Loadouts
- S-Tier Weapons: Every Individual Weapon Ranked
- Bottomless Buffet Deep Floors: World Records & Deep-Climb Builds
Sources
- Splatoon Raiders Walkthrough & Guides Wiki, Game8
- スプラトゥーン レイダース攻略wiki, GameWith
- スプラレイダース攻略wiki, AppMedia
Community-tested tier: mechanics compiled from Game8 and GameWith system pages and build reports (checked July 29, 2026), cross-checked between JP and EN wikis. Exact multipliers and proc rates are community measurements, not official figures. JP names are given where official English terms are unverified.